Do you want to qualify in one of the best engineering tools in the world? On a course that provides you a certificate? If your answer is yes, then this course is for you.
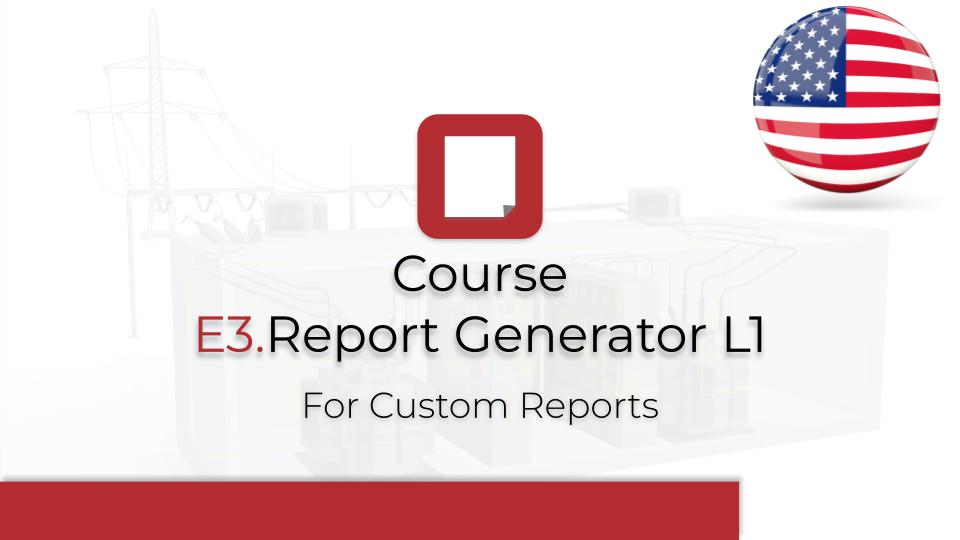
We created a special video to inform you of all the course content that will prepare you to customize your reports using the new free tool E3.Report Generator from E3.series.
✔ There are no prerequisites for this course
✔ Watch classes as many times as you want during the course
✔ Download the training version
✔ Access to the virtual community
✔ Pedagogical plan
✔ Virtual Classroom
✔ Specialized tutors to solve your doubts
✔ Teaching Material
✔ Certificate
*The development of script is not included in this course.
Estimated time to completion
2 hours on videos and 5 hours on practices
Available for 90 days after purchase
Available for 90 days after purchaseThis course is dedicated to detailed learning of the E3.ReportGenerator Designer and E3.ReportGenerator Creator tools, with the aim of enabling participants to create customized reports for their projects in the E3.series environment. Throughout the course, the user will learn how to manipulate and adapt different elements within these powerful tools to generate reports that meet the specific needs of their project.
The course begins with an introduction to the E3.ReportGenerator Designer and Creator interfaces, where the user will learn the general guidelines for navigating the tools. From there, the course explores the creation of reports, using existing samples as a starting point and allowing the creation of templates from scratch. The aim is to provide an in-depth understanding of the various customization possibilities, such as changing the sheet type, working with different lists, fields and properties.
The user will be introduced to the concept of report bands, such as Report Header, Detail and Page Footer, and will learn how to manipulate these elements to organize information clearly and objectively. In addition, the course will cover how to use parameters and filters to organize information, applying criteria before exporting the data, as well as creating calculated fields, which provides greater flexibility and control over the information presented.
Another point will be learning about grouping and sorting data. The user will learn how to group information alphabetically or alphanumerically, creating a logical and easy-to-understand structure in the report. Data handling techniques, such as managing empty rows and cells with null values, will also be covered, providing greater control and precision in the final results.
It will also cover how to work with external configuration files, offering a more flexible way of managing data and customizing reports. In addition, it will be shown how to activate triggers for the execution of scripts before and after report generation, enabling process automation and expanding customization possibilities.
Finally, the course will introduce the Report Preview functionality, which allows you to visualize how the report will be displayed before it is exported, as well as defining specific properties to ensure that the report is exported in the desired format. The user will also learn how to integrate the project's node structure with report generation in the Creator interface, optimizing the process and making report generation even more efficient.
Do you want to qualify in one of the best engineering tools in the world? On a course that provides you a certificate? If your answer is yes, then this course is for you.
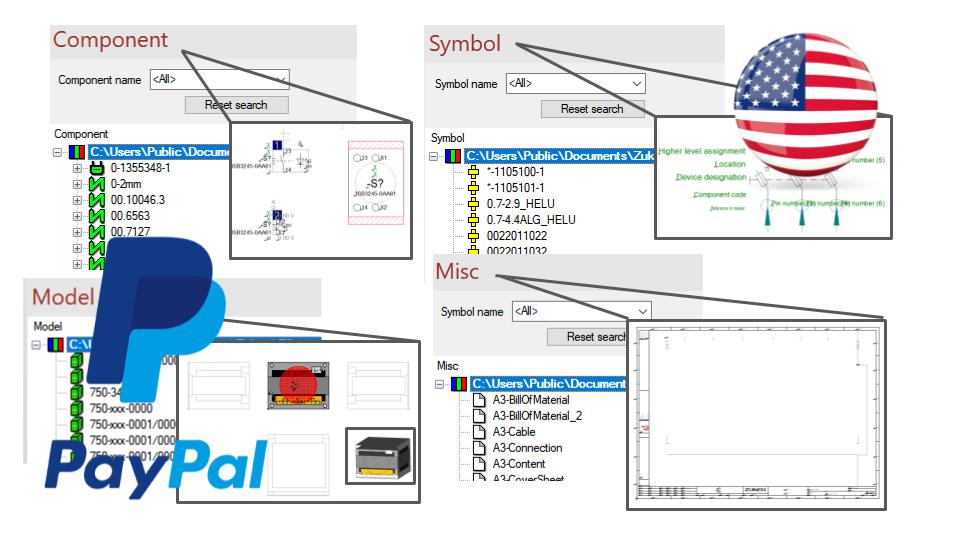
We created a special video to inform all the content of the course that will prepare you to customize your own database for your demand.
✔ There are no prerequisites for this course
✔ Watch classes as many times as you want during the course
✔ Download the training version
✔ Access to the virtual community
✔ Pedagogical plan
✔ Virtual Classroom
✔ Specialized tutors to solve your doubts
✔ Teaching Material
✔ Certificate
Estimated time to completion
8 hours on videos and 15 hours on practices
Available for 90 days after purchase
The complete creation of components and models, symbols and, finally, the association of symbols and models for the complete definition of the component structure as well as the attributes.
You will learn ways and strategies to create components faster from reuse to create your own database in an accelerated way.
The creation of components such as inverter, contactors, circuit breaker as a dynamic device modality, terminals, cables, cable group, sub circuit and assemblies.
Also wire groups, rails, ducts, PLCs, male and female connector terminal, sealing seal, cavity plug, male and female connectors, splice, heat shrink, corrugated also in creations.
For each of the defined model items, structures will be created using the export of DWGs for the main faces and also the creation of rail and duct models and the representation of the seal terminal model so that the automated choices can occur at project time from the definition of wires.
Creation of symbols associated with components, also representations of preview symbols, master symbols, remote PLCs, representations for terminals in formboard, connector table, also formboard table.
Formboard representations for connectors, formboard splicing, corrugated, heat shrink, new design sheet and text template for connections.
Creation of new attributes, new texts and other database settings.
How to update components that are already included in projects, symbologies, models.
Do you want to qualify in one of the best engineering tools in the world? On a course that provides you a certificate? If your answer is yes, then this course is for you.
We created a special video to inform all the content of the course that will prepare you to develop your schematic projects efficiently using E3.series.
✔ There are no prerequisites for this course
✔ Watch classes as many times as you want during the course
✔ Download the training version
✔ Access to the virtual community
✔ Pedagogical plan
✔ Virtual Classroom
✔ Specialized tutors to solve your doubts
✔ Teaching Material
✔ Certificate
Estimated time to completion
3 hours on videos and 7 hours on practices
Available for 90 days after purchase
Automatic generation of your project's cover, keeping the content next to it. The content list with the name of each page, the description of each page, plus data such as the project editor and the organization's document type.
Generation of bill of materials including item number, component description, supplier and project name.
Generation of the list of connections from / to, with the potential signal of the connection, the cable name, the section, the color and it will indicate if the wire belongs to any cable or cable structure within the project.
Later, it will be possible to create a terminal sheet, with the identification from/to, potential, terminal pin name, leaf reference and jumpers.
The electrical diagram will be fully developed in this training to generate the described lists.
It will be possible to understand how the insertion of cables physically works, also the direction of the cables in the connections, the use of cross references between sheets and between master and slave views.
You will understand the difference between what database components and devices are when we use those items in the project, the difference between wires and cables within the software. Also the creation of devices such as assembly, the use of sub-circuits and the creation of options and variants.
It will be possible to work with the options and variants for inclusion or exclusion of ready-to-use projects, already developed, for the customization of the standard product.
It will also be possible to work with the logical part of a PLC and, mainly, with its documentation and management, further benefiting the project with the use of a script to those who operate in Excel and communicate with the software to automatically fill in the data for each entrance and exit.
Do you want to qualify in one of the best engineering tools in the world? On a course that provides you a certificate? If your answer is yes, then this course is for you.
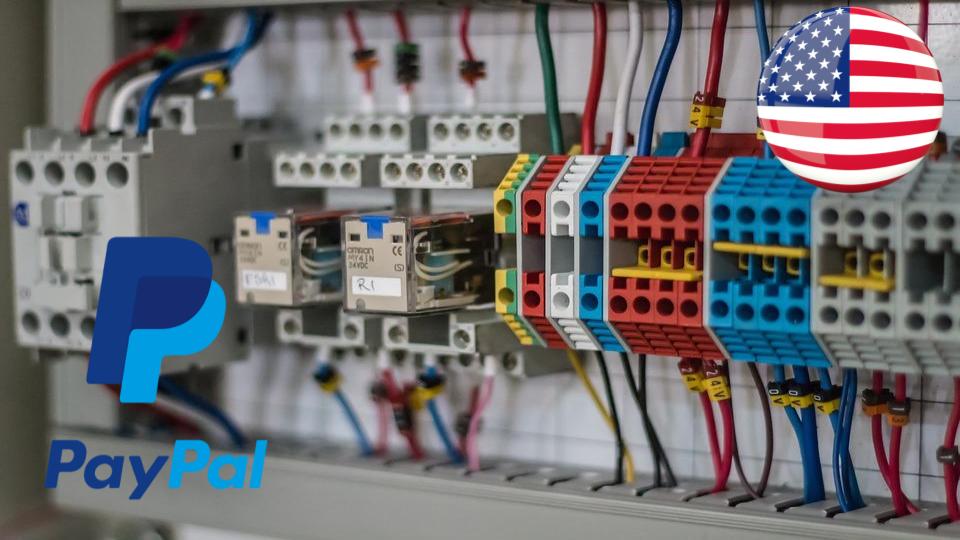
We created a special video to inform all the content of the course that will prepare you to develop your eletrical panel projects efficiently using E3.series.
✔ It is recommended, but not mandatory, to have taken the course E3.schematic L1
✔ Watch classes as many times as you want during the course
✔ Download the training version
✔ Access to the virtual community
✔ Pedagogical plan
✔ Virtual Classroom
✔ Specialized tutors to solve your doubts
✔ Teaching Material
✔ Certificate
Estimated time to completion
2 hours on videos and 5 hours on practices
Available for 90 days after purchase
When taking this course, you will receive a pre-produced project, which was prepared during the E3.schematic L1 course.
This project will already bring a defined schematic, material lists and cable connection terminals, which will be updated during the course of the training.
Thus, we will keep the focus on the E3.panel module, its features and what the user will learn:
You will learn how to create a dynamic panel structure within the project, and how to perform panel assemblies using the individual sheets and 3D views.
You will learn how to create and handle mounting plates, components, rails and ducts, virtual ducts and how to connect ducts between the bottom and side plates.
It will also be studied how to organize the 3D space for the use of more than one panel in a project, the occupation of the panel within the sheet, the definition of scale, the use of shared panel sheets, 2D representations for applying dimensions and application of multiple 2D views on a single sheet.
It will be studied how to create a 3D representation and how to insert it on the cover to complete the project documentation.
You will also know how to auto-route the panel, visualize the occupation of the channels and open new slots or holes in the panel sheets within the project.
In addition, you will learn how to generate a complete “from-to” wiring list, with wire specifications, length, duct routing and the total for each type of wire by family.
Do you want to qualify in one of the best engineering tools in the world? On a course that provides you a certificate? If your answer is yes, then this course is for you.
We created a special video to inform all the content of the course that will prepare you to develop your schematic and cabling projects efficiently using E3.series.
✔ There are no prerequisites for this course
✔ Watch classes as many times as you want during the course
✔ Download the training version
✔ Access to the virtual community
✔ Pedagogical plan
✔ Virtual Classroom
✔ Specialized tutors to solve your doubts
✔ Teaching Material
✔ Certificate
Estimated time to completion
3 hours on videos and 7 hours on practices
Available for 90 days after purchase
How to use different types of sheets in the project, how to work with blocks, hierarchical blocks, how to jump into them, how to insert hierarchical block diagrams. The creation of a harness and its targeting, placements and use of tables.
You will learn how to create a more complete and general view of the project on a sheet using hierarchical blocks. Creating for each of the blocks its own characteristics, signals and cross-references of the arrival of the connection transfer pins. How to go back, exit the hierarchy and then access the general sheet again.
It will study how to use single wires, standard cables and the creation of dynamic cables from single wire insertions, as well as the definition of earth connection symbology. Two ways to carry out electrical connections will be worked: multi-wire or single-wire. The creation of structured cables will also be carried out, with definitions of mesh, twisted pair and connector table.
The use of counter parts of devices will be studied. Also the use of terminals, sealing seals, cavity plugs for wires applied in connections. As well as using splices.
You will learn the use of connector tables in the project, and how to show different details of connector pins.
The creation of a subcircuit will be carried out, to speed up, then, the creation of electrical schematics or the repetition of sensor circuits, with a block symbolizing the connector and the pre-inserted counter part.
Will study features of options and variants in cable applications to perform the inclusion or exclusion of a part of circuits, or just the upgrade of wiring.
And the creation of the project organization, with the definition of folders for sheet type, sheet automatically generated for the cable list, connections, bills of materials. Also, the content list, the automatically generated cover, including the inclusion of documents as PDF within the project. Finally, the sheet texts, which can be updated according to the project information.
Do you want to qualify in one of the best engineering tools in the world? On a course that provides you a certificate? If your answer is yes, then this course is for you.
We created a special video to inform all the content of the course that will prepare you to develop your schematic and wiring harness projects efficiently using E3.series.
✔ It is recommended, but not mandatory, to have taken the course E3.cable L1.
✔ Watch classes as many times as you want during the course
✔ Download the training version
✔ Access to the virtual community
✔ Pedagogical plan
✔ Virtual Classroom
✔ Specialized tutors to solve your doubts
✔ Teaching Material
✔ Certificate
Estimated time to completion
2 hours on videos and 5 hours on practices
Available for 90 days after purchase
This training aims to create a harness using the main tools of the E3 formboard module.
In this course you will see how to insert different types of sheets, such as schematic, for formboard and also report sheets such as bills of materials, connections and also cables that are generated in an automated way by the software. It will also be possible to generate a content sheet, with documentation and information from each of the project sheets. And the cover sheet with the insertion, too, of an image to further document your project.
Within the schematic design it will be presented how to manipulate blocks, connector pins in the multi-strand representation, splicing, electrical connections with dynamic cables and mesh protections, or just cables, which are actually single wires for the connections.
Different ways of making the connection will be presented, a knot, or with slopes. Use of in-line and counter-piece connections.
During the design of the formboard harness, it will be presented how to make curved connections, straight connections, dealing with slants in connections, knot definitions, as well as fasteners, positioning of segment splices, insertion of protection for segments such as corrugated, or even even heat-shrinkable devices.
Also, it will be presented how to insert separate pins inside the formboard, connection parts, dimensions dimensions with tolerance, also the definition of fields to document the objects that belong to the harness, as well as the use of different table presentations, and the definition of terminal and sealing seal, manually and dynamically within the project.